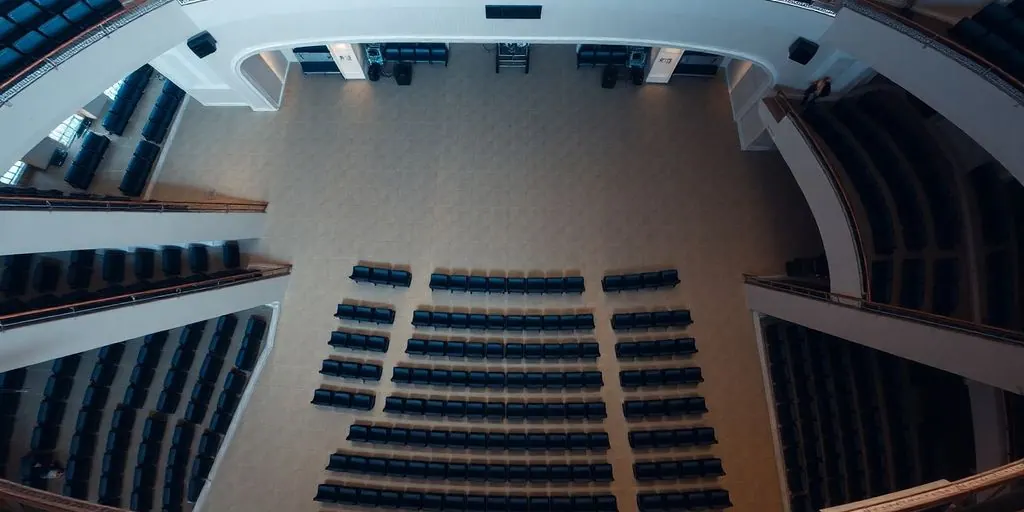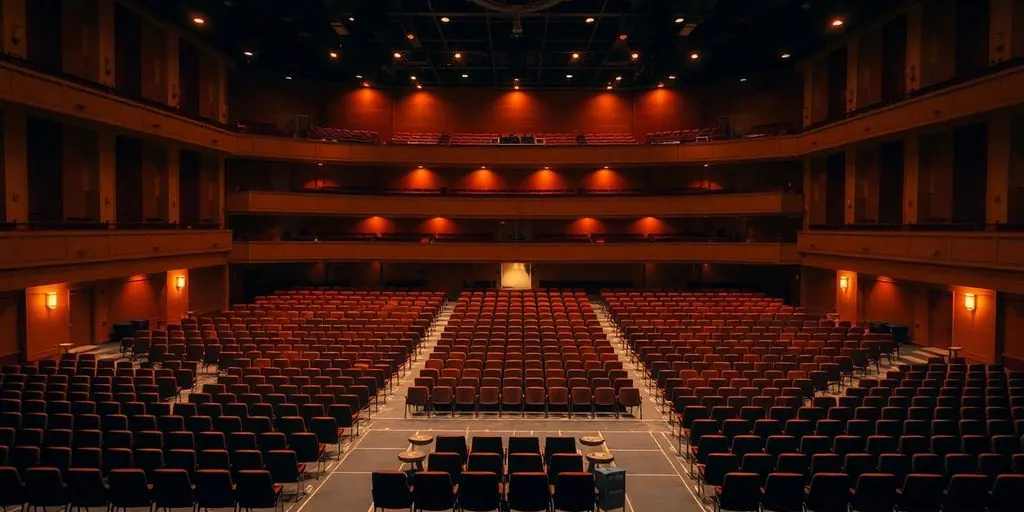
Setting up a good seating map for event is a big deal if you're running any kind of get-together where people need specific spots. It can feel a bit much at first, like, where do you even start with all those seats and rows? But honestly, getting it right makes everything smoother for everyone, from the folks buying tickets to the ushers on the day of. This guide will walk you through making a seating map that actually works for your venue, step by step, so you can stop stressing about who sits where.
Key Takeaways
- Always create your venue and seating map before you start selling tickets.
- You can pick from different templates, like rows, tables, or a mix, to get started.
- Don't forget to label your seats and rows clearly so everyone knows where they're going.
- It's easy to copy a seating map from an old event if your layout is similar.
- You can set different prices for different sections or even for different types of people in the same section, like adults versus students.
Getting Started with Your Seating Map for Event
Alright, so you're ready to set up a seating map for your event! That's awesome. It might seem a little daunting at first, but trust me, it's totally manageable. The first step is understanding the basics of how these maps work within the platform. We'll walk through creating a new venue, figuring out your seating options, and getting into the editor itself. Let's get started!
Creating a New Venue
Before you can even think about seats, you need to define your venue. This is where the magic happens, right? If it's a brand-new place, you'll need to input all the details: name, address, capacity, all that jazz. This info helps the system understand the physical space you're working with. If you've used the venue before, it might already be in the system, just search for it.
Selecting Reserved Seating Options
Okay, now for the fun part: deciding how you want to handle seating. Are we talking assigned seats, general admission, or a mix of both? For reserved seating, you'll need to specify how many seats are in each row, how many rows you have, and how they're arranged. Think about the layout of your venue and how you want people to experience the event. This choice impacts how people create a seat map and buy tickets, so it's pretty important.
Accessing the Seating Map Editor
Time to get our hands dirty! Once you've got your venue set up and your seating options sorted, it's time to jump into the seating map editor. This is where you'll actually design the visual representation of your seating arrangement. Usually, you can find this option within the event settings or ticket management section. Look for something like "Seating Map" or "Edit Seating Chart". Once you're in, you'll see a blank canvas (or maybe a template, depending on the platform) ready for your creative touch.
Remember, changes to a seat map and its labels after an event has gone on sale can result in the loss of ticket reservations. So, make sure you finalize your seating map before you start selling tickets.
Here's a quick checklist to make sure you're on the right track:
- Venue details are accurate.
- Seating options (reserved, general admission, etc.) are selected.
- You know how to access the seating map editor.
Designing Your Seating Map for Event
Choosing a Seating Map Template
Okay, so you're ready to design your seating map. The first thing you'll want to do is pick a template. Don't worry, you don't have to start from scratch unless you really want to. Most platforms offer a few basic templates to get you going. Think of these as starting points, not finished products.
- Blank Template: A completely empty canvas for total customization.
- Rows: Standard theater-style seating.
- Tables: For events with tables, like banquets or conferences.
- Mixed Seating: Combines rows and tables.
Choosing the right template can save you a bunch of time. If you're doing a concert, the "Rows" template is probably your best bet. If it's a fancy dinner, go with "Tables". You can always tweak things later. To select an event seating arrangement, consider the event's format and duration.
Customizing Seat and Row Labels
Labels are super important. Nobody wants to buy a ticket for "Seat A1" and then wander around trying to find it. Clear, logical labels make everyone's life easier. Most platforms let you customize how seats and rows are labeled. You can use numbers, letters, or a combination of both.
Here's a few things to keep in mind:
- Consistency is key. Stick to a pattern throughout the venue.
- Make it intuitive. Start numbering from the left or the front, so people can easily find their seats.
- Consider obstructions. If a seat has a partially blocked view, label it accordingly (or don't sell it!).
Pro tip: Walk through your venue and physically check the seat labels. It sounds obvious, but it's easy to make mistakes when you're working on a digital map.
Adjusting Layout with Skew and Rotation Tools
Not all venues are perfect rectangles. Sometimes you need to get a little creative with the layout. That's where skew and rotation tools come in handy. These let you adjust the angle and shape of your seating sections to match the actual layout of your venue. It might seem like a small detail, but it can make a big difference in how accurate and user-friendly your seating map is. Think about it, if your map doesn't match the real world, people are going to get confused. And confused people are unhappy people. Here's a simple table showing how these tools can be used:
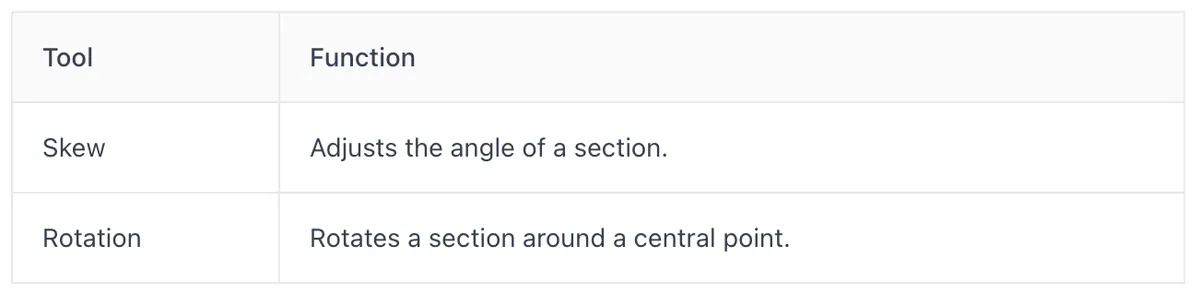
Remember, the goal is to create a seating map that's as accurate and easy to understand as possible. Take your time, experiment with the tools, and don't be afraid to make adjustments until it looks right.
Managing Event Seating Configurations
Copying from Existing Event Maps
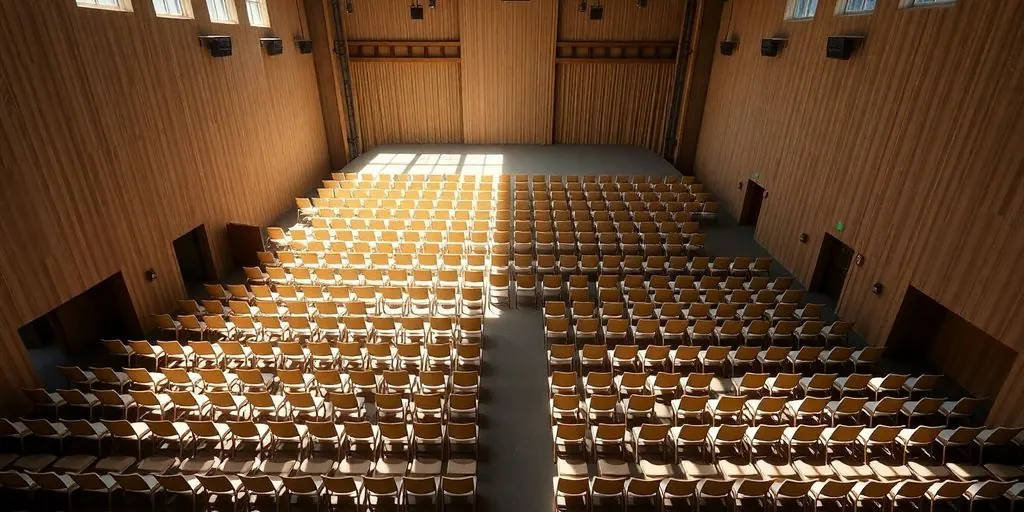
So, you've got a killer seating chart from a previous event? Great! Why reinvent the wheel? Most platforms let you copy those existing maps. This is a huge time-saver, especially if you're running similar events in the same venue. Just make sure to double-check everything! Things might have shifted slightly since the last time, or maybe you're expecting a different crowd size. It's always better to be safe than sorry. Think of it as a starting point, not the final destination. You can easily create a seating map from a previous event.
Creating Mixed Seating Arrangements
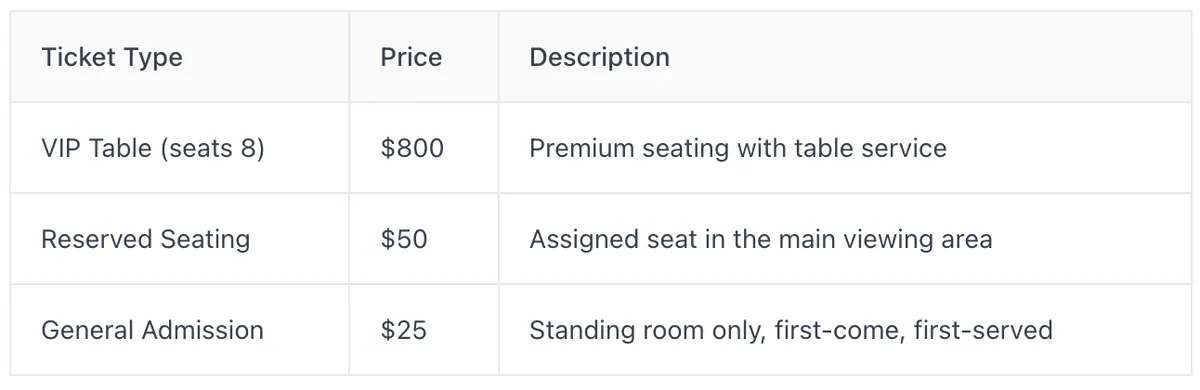
Okay, let's talk about mixing things up. Not every event is just rows of chairs or tables. Sometimes, you need a little bit of everything. Maybe you want some VIP tables up front, some rows of seating behind them, and a standing area in the back for the party animals. This is where mixed seating arrangements come in. The key here is to plan it out carefully. Think about sightlines, traffic flow, and the overall vibe you're going for. You don't want to stick the quiet folks behind the mosh pit, right? Consider different ticket types for different sections to manage expectations and pricing.
Incorporating General Admission Areas
General Admission (GA) areas can be a great way to maximize space and offer a more affordable ticket option. But they can also be a recipe for chaos if not managed well. Here are a few things to keep in mind:
- Clearly define the GA area on your seating map. Use visual cues to separate it from reserved seating.
- Consider capacity limits. You don't want to oversell GA tickets and end up with a fire hazard.
- Have staff on hand to manage the crowd and prevent overcrowding. Nobody likes being crammed in like sardines.
Think about the overall experience. Is the GA area close to the bar? Are there good views of the stage? Make sure it's not just an afterthought, but a well-integrated part of the event layout. Effective table and seating management is key.
Here's a simple example of how you might structure ticket pricing with a GA area:
Implementing Advanced Seating Features
Designing for Multiple Sections
When you're setting up seating, sometimes one big block of seats just doesn't cut it. Maybe you have different price points, or perhaps you want to separate VIPs from general admission. That's where designing for multiple sections comes in. It's all about breaking down your venue into logical areas.
- Clearly define each section's boundaries.
- Use color-coding to visually distinguish sections.
- Consider sightlines and accessibility when planning.
Think about how people will move through the space. Are there clear pathways? Are the sections easily identifiable? Good planning here makes a huge difference for attendees.
Handling Multi-Floor Venues
Multi-floor venues add another layer of complexity. You're not just dealing with left and right; you're also dealing with up and down. The key is clear communication. Make sure your seating map accurately reflects the floor layout. Consider using different tabs or views for each floor. It's also important to think about accessibility, are there elevators or ramps? You'll want to mark accessible seating appropriately.
- Use distinct floor plans for each level.
- Clearly label stairs, elevators, and exits.
- Ensure wayfinding is intuitive for attendees.
Integrating Ticket Types with Seating
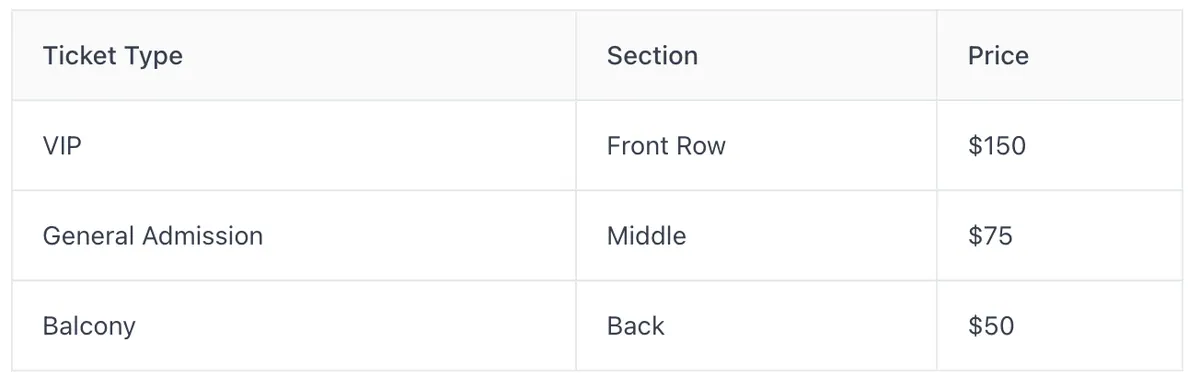
This is where things get really interesting. You can tie specific ticket types to specific seats or sections. Want to charge more for front-row seats? Easy. Want to offer a discount for balcony seats? No problem. Integrating ticket types with seating gives you a lot of flexibility in pricing and event seat charts. It also helps you manage capacity and ensure that people are sitting where they're supposed to be.
- Create distinct ticket types for each section.
- Set pricing based on seat location and amenities.
- Use software to manage ticket assignments and prevent errors.
Finalizing Your Seating Map for Event
Okay, you've designed your seating map, which is awesome! Now, it's time to make sure it's actually usable for your event. This involves connecting it to the real-world event, setting up how tickets work with the seating, and finally, making it live for attendees. It's like putting the engine in the car and then gassing it up!
Adding Venue to Physical Event
First, you need to link your carefully crafted digital seating map to the actual event you're planning. This step is super important because it tells the system where the seating map should be used. Think of it as assigning the seating chart to a specific performance or game. Without this link, your seating map is just a pretty picture.
Here's a quick rundown:
- Go to your event settings.
- Find the section for venue or location.
- Select the seating map you created from the dropdown menu. Make sure you select "Reserved Seating" in the Venue editor.
- Save your changes.
Creating Ticket Buckets
Ticket buckets are how you connect different ticket types to specific seats or sections in your venue. For example, you might have "VIP" tickets for front-row seats and "General Admission" tickets for the back. This step lets you control which tickets can be used for which seats. It's like setting the rules for who gets to sit where. You can design effective event floor plans by carefully planning these buckets.
Consider these points when setting up ticket buckets:
- Price differences: Set different prices for different sections.
- Ticket tiers: Create different ticket types (e.g., VIP, Early Bird, Student).
- Seat restrictions: Limit certain ticket types to specific seats.
Publishing Your Event with Seating
Alright, the moment of truth! You've got your seating map linked to the event, your ticket buckets are set up, and now it's time to make it all live. Publishing your event with seating means making it available for attendees to view and purchase tickets. It's like opening the doors to your venue and letting people in.
Before you hit that publish button, double-check everything. Make sure the seating map looks correct, the ticket prices are accurate, and all the settings are in place. Once it's live, changes can be a pain, especially if people have already bought tickets. Remember, changes to a seat map after an event has gone on sale can result in the loss of ticket reservations.
Optimizing Your Seating Map for Event